The M185 is a popular wireless mouse, thanks to its sleek design and affordability. It is compatible with a range of operating systems. These include Windows 10, Windows 8, Windows 7, Windows Vista, Chrome OS, Linux kernel 2.6, and Mac OS or later. You need to have a USB port to use this mouse, regardless of which operating system you use.
Main features of the Logitech M185 Wireless Mouse
The M185 comes with a battery that has a life of approximately one year. The Logitech M185 wireless mouse also boasts a sleep mode which helps to conserve power. Like all other accessories from Logitech, this mouse also guarantees superior quality and reliability.
As far as wireless connectivity is concerned the Logitech M185 mouse runs on 2.4 GHz. With the M185 affordably priced, there’s no reason why you should use a mouse with a cord. Plus, a wireless accessory like the M185 offers additional benefits, like high-speed data transmission without any delays.
And thanks to its being a plug-and-play device, you don’t have to go through the hassle of researching which software you need to use with it. All you have to do is simply plug the M185 in a functional USB port and you’re all set.
Why is the M185 wireless mouse is not working
You may face problems with your mouse for many reasons, the most common ones are:
- You need a new battery
- The USB port you are using has stopped functioning
- There’s some problem with your computer (Try checking your M185 on another device to see if this is the case)
- The surface on which you are using the mouse is not letting it work properly
- Your mouse drivers are faulty, corrupt, or outdated
Try these DIY solutions first
If your M185 mouse has stopped working properly, give these simple solutions a try.
- Get new the batteries. Are you facing tracking or connection problems? If so, it might be worth trying new batteries.
- Use a different USB port. In case the problem is with the USB port you are using, you should be able to fix the issue using this simple solution
- Make sure other wireless devices are not too close to the M185 mouse. Sometimes, you may encounter issues if this is the case, so it’s something worth checking.
- Make sure you are not using the M185 on a metal surface. In case you are, try it on a wooden or some other surface.
If the issue persists, you can safely assume you need mouse drivers.
How to download Logitech M185 device drivers
You can download drivers manually or automatically. The second method is easier and faster, not to mention less complicated. However, we have shared both methods in this post and you can pick the one that you are more comfortable with.
Manually download M185 device drivers
You can manually download the latest drivers for M185 in three different ways. These are:
Updating the M185 Mouse Driver with Windows Update
Running Windows Update is a good place to start from in case your M185 is not properly working. Windows update will install the relevant details automatically and these updates may also relate to the outdated drivers on your system.
Here’s how you can run Windows Update:
- First click Start button and, in the start search box, type Windows Update
- Click on Windows Update from the list of options appearing on your screen. Next, click on Check for updates
- If you see any onscreen instructions, follow them. Windows is going to automatically install all relevant updates
- Reboot Windows and then check if the M185 mouse is working like it should
There’s a possibility that Windows Update might not have the newest device drivers for the mouse. In that case, you can try any of the methods discussed next.
Updating the M185 driver via Device Manager
The device manager is a utility built into Windows that allow you to view as well as control the attached hardware.
Perform these steps to update the M185 driver via the device manager.
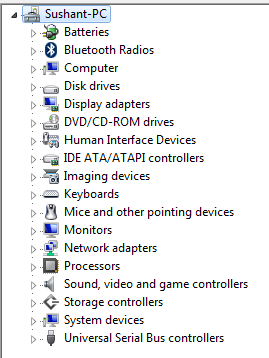
- Press Win + R to open the run dialog box and then type devmgmt.msc and press the OK button or the Enter key
- Expand Mice and Other Pointing Devices option
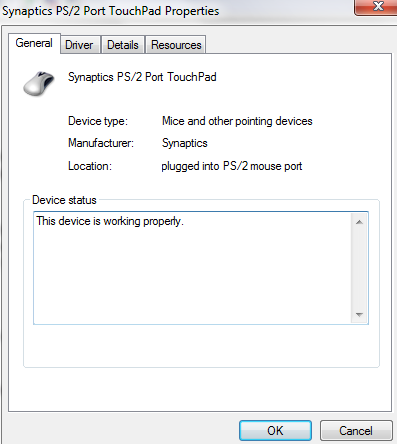
- Now, right-click the Logitech M185 mouse and click Properties
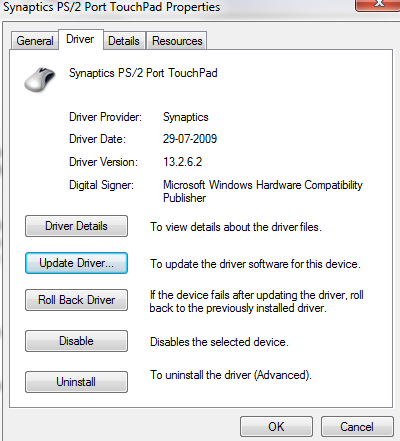
- Click the Driver tab
- Click the Update Driver button
- In the next window, select Search automatically for updated driver software
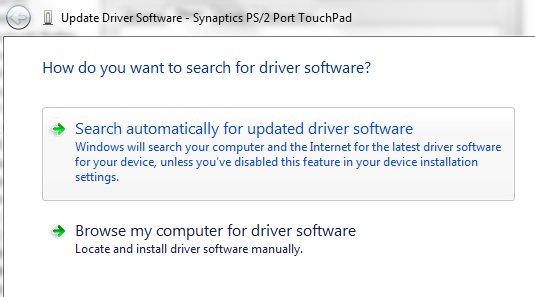
- Windows will search the internet to find a driver update and install it. If it does not find a driver update, you have to manually download the mouse driver and install it.
- Restart Windows
Download the Logitech M185 driver from the manufacturer website
You can also download the latest M185 driver from the manufacturer’s website by following these steps.
- Open a web browser and go to the Logitech website
- Search for the latest driver for the M185 mouse. Take care to download the version corresponding to your Windows PC or laptop. By this we mean if you have a 32-bit Windows, you need to install drivers designed for 32-bit Windows, not 64-bit. Likewise, 64-bit Windows users need to click on drivers created for 64-bit PCs or laptops.
- Save the downloaded file on your computer
- Double-click the .exe file to start the installation. Follow on-screen instructions, if any
- Reboot windows
Note: When you are manually downloading device drivers, take care to download them only from the device manufacturer’s or your laptop manufacturer’s website, and not other websites.
Downloading the Logitech M185 Wireless Mouse driver automatically
The manual installation method requires not only time and effort but also some technical knowledge. A much easier approach is to use a reliable and fast driver update tool, like Driver Updater. It can update all your device drivers, including the M185 driver, in a couple of minutes.
Outdated drivers can cause serious problems with your PC. With Driver Updater keeping your drivers up to date is very easy. With just a few clicks, you can update all your drivers. A free trial of this Driver Update Tool means you can give it a try without commitment.
Download using the link below and get your Driver problems fixed.
Leave a Reply